
Are you looking to improve your TV’s sound? Connecting a Sonos speaker is a great option. I’m a fan of Sonos – their small, compact speakers deliver impressive sound. But knowing which one to get can be confusing with the different models available.
I’ll explain which Sonos speakers can and can’t connect to a TV. Then, I’ll provide step-by-step instructions on connecting Sonos to your TV. I’ll even cover how to use Sonos to use any speaker with your TV.
Main Topics
Not All Sonos Speakers Play Nice with TVs
Before learning how to wire a Sonos speaker to your TV, you must understand that not all Sonos speakers can connect directly to a television.
So while you might want to use your Sonos speaker to improve your TV’s sound, it depends on the speaker you own.
The primary speakers by Sonos for wiring to a television are their range of soundbars:
- Arc
- Arc SL
- Beam (Gen 1 and Gen 2)
- Ray
- Playbar
- Playbase
If you have one of these, you are all set for great TV sound, and you just need to follow the simple steps detailed below.
However, if you own one of the other speakers in the excellent Sonos range, you will be disappointed to learn these aren’t designed for wiring to your TV.
So, the Sonos speakers not meant for TV sound are:
- Era 100 and 300
- One and One SL
- Five
- Play:1, Play:3 and Play:5
- Move
- Roam and Roam SL
- Sub and Sub Mini
However, the good news is that you can add some of these speakers to the soundbars listed above, expanding your TV audio to surround sound.
First, here is how you set up a Sonos soundbar for your TV.
Hook Up Your TV and Sonos Soundbar – Step-by-Step
Wiring a Sonos soundbar to your TV is straightforward if you follow the recommended method. You will only need one cable between your TV and the soundbar, so it’s something even a beginner can do on their own, and the cable is even included in the box.
The only thing you need to start is the latest Sonos app on your mobile device.
This guide applies to the latest Sonos soundbars, the Arc, Beam and Ray. It will also cover the basics for setting up the older soundbars like the Playbar and Playbase, but there may be minor differences.
1. Get the Sonos App

The Sonos app controls the installation process from your mobile device. Download the iOS or Android version, depending on your device, and ensure it installs correctly.
Once you have everything set up, use the Sonos app to control your system, play music from different sources and add and remove any Sonos speakers you want to add to your existing setup.
2. Place that Soundbar

Place the soundbar in the best position for your TV and connect the supplied power cable to a socket. In most cases, the ideal location will be central, just below your television.
It’s important to avoid blocking the screen with the soundbar so you can locate the soundbar above the TV if you don’t have enough space below.
What if you have a wall-mounted TV and no furniture underneath? You can buy a third-party or Sonos wall mount for each soundbar version, allowing you to position the speaker on the wall in the ideal location.
You don’t need to connect a cable between the soundbar and TV just yet. The Sonos app will guide you through the process – although, if you know what you are doing, you can, if you like.
3. Fire Up the App
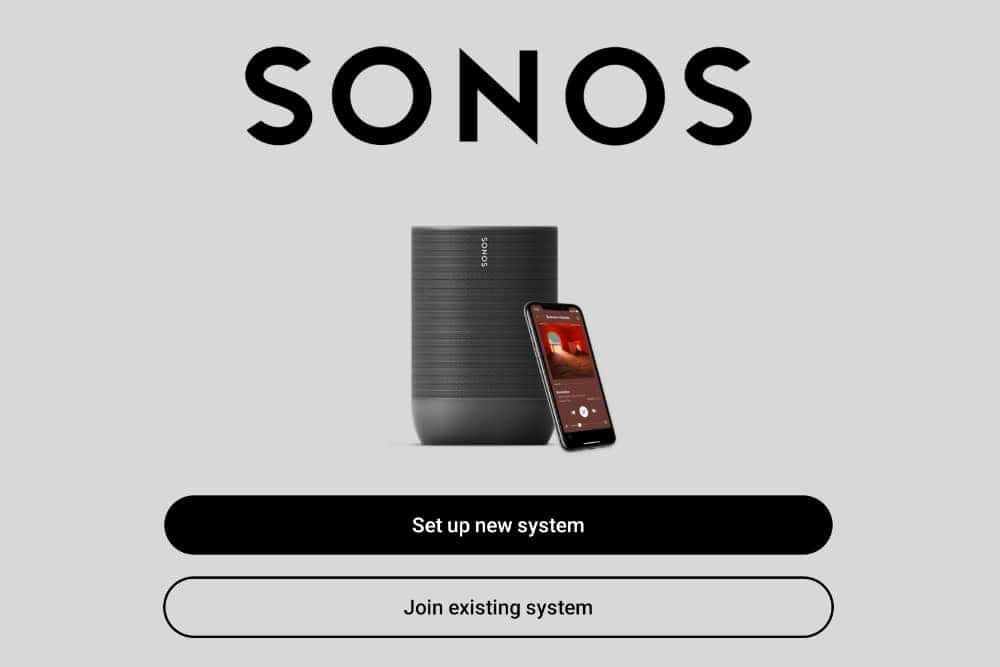
Open the Sonos app you installed on your mobile device in step one. If this is your first Sonos speaker, you will get the introductory page asking you to set up a new system.
If you already have a Sonos speaker in your home, select Join Existing System.
Before going any further, you must create a Sonos account and sign in. If you already have an account, you can sign in. The app will ask which Sonos product you are setting up, so select the correct soundbar from the list.
Next, the app will guide you through the installation process, including connecting to your Wi-Fi network and wiring the soundbar to your TV using the correct cable and ports.
4. Plug In With HDMI

The app will guide you through wiring the soundbar to your TV. The best way to wire the latest Sonos soundbars is to use the included HDMI cable, except for the Ray, which is optical audio-only.
For HDMI to work, your TV must have an HDMI ARC port, which is standard on most TVs made after 2018 but less common on older televisions.
The correct HDMI port will be labeled ‘ARC’ on the back of your TV, and when you have found it, plug in one end of the supplied HDMI cable.
If your TV doesn’t have an HDMI ARC port, you might have an optical audio output instead. If so, use the supplied optical adapter from the Sonos box and connect it to one end of the HDMI cable.
This creates an optical connector that you can plug into the optical audio output of your television. Finally, plug the other end of the HDMI cable into the HDMI port on the soundbar, which is clearly marked.
For the Ray soundbar, you must use the supplied optical cable from the optical audio output of your TV to the soundbar’s optical input.
5. Test the Audio
The app will walk you through the setup process and test the audio from your TV. After wiring your TV and soundbar together, you should have everything you need to get sound from your television.
Switch on your TV, making sure the soundbar is still on, and you should hear the TV’s audio on the soundbar.
If you do, you should ensure you aren’t hearing audio from the soundbar and the TV speakers simultaneously. If you are, use your standard TV remote to turn the volume down to zero.
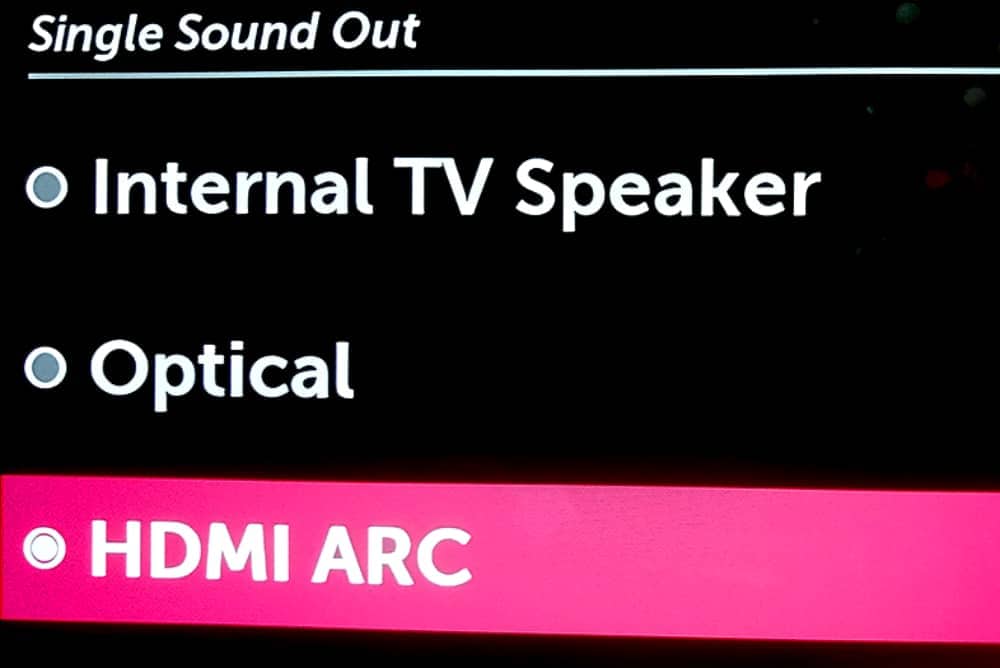
If you don’t hear any TV audio on your soundbar, go to your TV’s audio settings menu and check the audio output setting. It may be enabled for the TV speakers.
If so, change the audio output setting to HDMI (or maybe ARC) if your TV has an HDMI ARC output. If you are using optical, change the setting to the correct option.
6. Add Your Tunes

When everything is wired up and connected to your wireless network, you can use the Sonos app to add music services that you can play on your new Sonos speaker in addition to the sound from your TV.
There is a range of Sonos Radio stations, or you can add any existing music and voice services you might have, like Apple Music, Amazon Music, Audible, Deezer, Plex, Spotify and TIDAL… to name just a few.
7. Expand Your System

When you have connected a Sonos soundbar to your TV, you can expand your sound system by adding more Sonos speakers – like a subwoofer or surround speakers.
In the Sonos app, go to Settings / System / Add Product.
Here you can add a Sonos Sub or Sub Mini for extra bass or use a pair of smaller Sonos wireless speakers for surround sound, like the One, One SL or Five.
Amp Up Your TV’s Sound
Another way of connecting your TV to a Sonos product is the Sonos Amp.
The Amp doesn’t allow you to connect Sonos speakers as your main TV speakers, but you can add the smaller wireless models as surrounds.
The primary purpose of the Sonos Amp is to power a pair of 3rd party passive speakers.
Do you already have a stereo pair of speakers you love? You can wire them to the Amp and create an excellent 2.0 speaker system for TV audio and music.
And you can even add a subwoofer for 2.1 sound.

A powerful amplifier by Sonos that powers your passive speakers and connects you to the Sonos ecosystem.
- HDMI ARC connection for your TV sound
- RCA line-in for other audio devices
- Subwoofer output
- Wi-Fi and Apple AirPlay 2
- 125 watts per channel
- Use a second Amp for surround sound
- There is no center channel for home theater; use your passive speakers for the stereo front pair.
The Amp connects to your TV via HDM ARC, like the Sonos soundbars, although you can use an optical connection if that is all your TV has.
The advantage of the Amp is that you also have the Sonos ecosystem, and you can use the Sonos app to control audio in every room with a Sonos speaker.
If you add a second Amp, you can pair this with the front speakers and add any of the smaller Sonos wireless speakers for surround sound – creating a 4.1 system.
The Sonos Outcasts – Speakers That Won’t Connect
While Sonos soundbars are perfect for improving the sound from your TV, you can’t use all their speakers for TV audio.
First, there are several wireless speakers for playing music and voice audio from the mobile app.
Wireless Speakers
The smaller wireless-only Sonos speakers are:
- Era 300
- Era 100
- Five
- One
- One SL
- Play:1
- Play:3
- Play:5 (Gen 1 and Gen 2)
All these speakers are for placing around your home and playing audio from music, voice and podcast services on the app.
The only way to add them to your TV is to pair them with a soundbar as surround sound speakers.
The Era 100 and 300 speakers have one big difference compared to the others. They have a USB-C line-in for receiving audio from external devices – and an optional USB-C to 3.5mm adapter you can buy separately.

You could wire this from a TV audio output and get something working. But Sonos says this isn’t the intended purpose.
Therefore, I wouldn’t buy the Era 300 or 100 specifically for TV sound. If you know that’s what you want, you’ll get a much better experience with the soundbar speakers mentioned previously.
Portable Bluetooth Speakers
The smaller Sonos portable speakers connect via Bluetooth rather than to your Wi-Fi network, like the other Sonos speakers. Their range of portable speakers includes:
- Move
- Roam
- Roam SL
You can’t connect these speakers to a Sonos home theater system; they are meant for Bluetooth audio delivery from your mobile device while you are on the move.
You could technically connect them to a TV supporting Bluetooth audio output as they are Bluetooth speakers.
However, while you would hear some TV audio in this case, you won’t get outstanding performance as Bluetooth audio is often too slow to sync correctly with pictures.
You will likely get a delay between sound and picture.
You could try it, and you may be able to live with the results. But if you want excellent audio from your television, you should buy a Sonos soundbar speaker designed for the job.
The compact Sonos Ray soundbar is relatively cheap and will perform much better than a Bluetooth speaker for TV sound.
Subwoofers
The range of Sonos wireless subwoofers are for connecting to existing speakers for additional bass in a home theater or music system.
The Sonos subwoofers are:
- Sonos Sub (Gen 1 and Gen 2)
- Sonos Sub (Gen 3)
- Sub Mini
If you want to connect a Sonos sub to your TV, you can add it to an existing Sonos soundbar for an outstanding home theater system.
You can even add two subs for better bass response in your room.
Alternatively, you can create an excellent compact music system by pairing a sub with one of the smaller wireless speakers, like the One or Five. If you’ve got the money, these work best as a stereo pair.
You can’t add the Sonos subs to the Move and Roam Bluetooth speakers.
About The Author
Paul started the Home Cinema Guide to help less-experienced users get the most out of today's audio-visual technology. He has been a sound, lighting and audio-visual engineer for around 20 years. At home, he has spent more time than is probably healthy installing, configuring, testing, de-rigging, fixing, tweaking, re-installing again (and sometimes using) various pieces of hi-fi and home cinema equipment. You can find out more here.


